12.31.2010

Peanut Butter Blondies with Milk Chocolate Frosting

These are good.
Seriously good.
So, let's talk. How was everyone's Christmas? Mine was wonderful. I spent all of Friday, Saturday, and Sunday with my family. I can't think of a better way to have spent the holiday. We ate, sat around the kitchen table and talked, ate, played games (my mom is a horrible cheater at Scattergories), ate, and opened some presents. Did I mention that we ate? It seemed like a reasonable amount of food at the time, and was very very tasty, but now that I look back maybe I shouldn't have indulged with multiple pieces of bread pudding or handfuls of puppy chow. But hey, it's only Christmas once a year, right? Right!
So back to Christmas. Honestly, it was the best Christmas we've ever had. My mom attributes that to her delectable and perfectly cooked prime rib she made for Christmas Eve dinner. I like to think it's the Kitchenaid mixer I was gifted (!!!). But even if we had no prime rib, and no super-cool, awesome, cherry red mixers for the holiday I'm positive it would have been awesome because of the best gift of all, spending time with family. Ok, I'm getting too cheesy on here, aren't I?
Enough of me blabbering about Christmas cheer, and time for blondie talk. Seriously good peanut butter blondie talk. I think the thing that makes these blondies so delicious is the classic combination of chocolate and peanut butter. It's hard to mess that duo up.
I made these blondies awhile back but just got around to posting them. I hope these are one of the desserts you make in the new year. If you do, you'll have made an excellent and delicious choice. Trust me.
Have a wonderful rest of the holiday season and I'll talk to you all next year!
Peanut Butter Blondies with Milk Chocolate Frosting-recipe by Joy the Baker

10 Tablespoons unsalted butter, cut into cubes
2 cups dark brown sugar
1 cup smooth and natural peanut butter
2 eggs
2 teaspoons vanilla
1/2 teaspoon salt
2 cups flour
1 teaspoon baking powder

Preheat oven to 325 degrees F. Grease a 9x13 inch pan and line with parchment. Grease the parchment paper too.

In a medium saucepan over medium heat, melt butter and sugar until the butter is just melted. Remove from the burner and allow to cool for 5 minutes, then add the peanut butter. Stir until incorporated. Allow to cool for 5 minutes more, then whisk in the eggs and vanilla extract. You want the sugar, butter, and peanut butter mixture to be cool enough that the eggs won't cook when they're added in.

Whisk together salt, flour, and baking powder. Add dry ingredients all at once to the wet. Stir until just incorporated. Pour the thick batter in the prepared pan and smooth out. Bake for 20-25 minutes, or until a skewer inserted in the center of the blondies comes out clean. Remove from the oven and allow to cool to room temperature before frosting.

Milk Chocolate Frosting

6 Tablespoons unsalted butter, at room temp
3 Tablespoons cocoa powder
1/4 teaspoon salt
1 1/2-2 cups powdered sugar
3 Tablespoons milk
3/4 cup milk chocolate chips, melted

In the bowl of a stand mixer, beat together the butter, cocoa powder, and salt. Add 1/2 cup powdered sugar followed by 1 Tablespoon milk. Beat well. Add another cup of powdered sugar, followed by 2 tablespoons of milk. Add the melted and slightly cooled chocolate chips to the frosting and beat to incorporate. Add the final 1/2 cup of powdered sugar if you need a bit for thickness. Spread evenly over cooled peanut butter blondies.

12.28.2010

Tiramisu. Capiche?

I bought this wonderful cookbook, The Pastry Queen, a few months ago and fell in love with it when I first opened the cover. The photographs make your mouth water and the author writes cute passages at the beginning of each recipe. After weeks of flipping through pages debating what to make, I finally settled on a favorite of mine-tiramisu.
I changed the recipe just a bit, mainly when it came to the syrup that I dunked the ladyfingers in, and I don't think it mattered much at all. Since the dessert filled a big 9x13 pan, I was eager to share, and all of my coworkers said it was delicious.
This tiramisu used homemade ladyfingers. I had made them once before, and they aren't as daunting as I thought they would be, and they add such a great flavor to the dish. I probably could have eaten all of the ladyfingers by themselves because they were that good. For the tiramisu's sake, I decided to refrain.
Probably what I love most about this tiramisu is that the coffee flavor isn't too overwhelming, like some that I've had before. Ironically, this was my mom's least favorite thing about it. So...if you like an intense coffee flavor, this probably isn't the tiramisu for you, but if you enjoy a nice subtle flavor, I bet you'll love this recipe. So try this if you love tiramisu, like me, and be sure to let me know what you think!
Note* At the very end of the recipe it says to let it chill for at least a few hours or overnight. I would definitely choose overnight. The flavors really do mingle while it's chillin' (hah!) in the fridge, and it's much better after it has rested for a long while.
Tiramisu with Homemade Ladyfingers-recipe by The Pastry Queen

for the ladyfingers:
1/2 cup powdered sugar for dusting ladyfingers
7 large eggs, separated
3/4 cup plus 4 Tablespoons granulated sugar
2 teaspoons vanilla extract
1 cup AP flour

for the soaking syrup:
1/2 cup water
1 1/2 cups sugar
2 teaspoons instant espresso powder
1/4 cup Kahlua
1/8-1/4 cup dark rum
1 Tablespoon vanilla extract

for the filling:
3 (8 oz) packages cream cheese, at room temp
2 cups sugar
1 (16 oz) tub mascarpone cheese, at room temp
1 Tablespoon boiling water
2 Tablespoons instant espresso powder
Dark cocoa powder or grated bittersweet chocolate for dusting

To make the ladyfingers: Preheat the oven to 375 degrees. Line two baking sheets with Silpats or parchment paper. Use a fine-mesh sieve to dust with powdered sugar. Using a mixer fitted with the paddle attachment, beat the egg yolks, the 3/4 cup granulated sugar, and the vanilla in a large bowl on high speed about 5 minutes, until the yolks become thick and pale yellow. In a separate clean, large bowl, use a mixer fitted with the whisk attachment to beat the egg whites on high speed until stuff peaks form. Add the 4 Tablespoons granulated sugar, 1 Tablespoon at a time, beating after each addition. Fold the egg white mixture gently into the egg yolk mixture. Use a sieve to sift the flour over the batter. Gently fold in the flour just until incorporated.

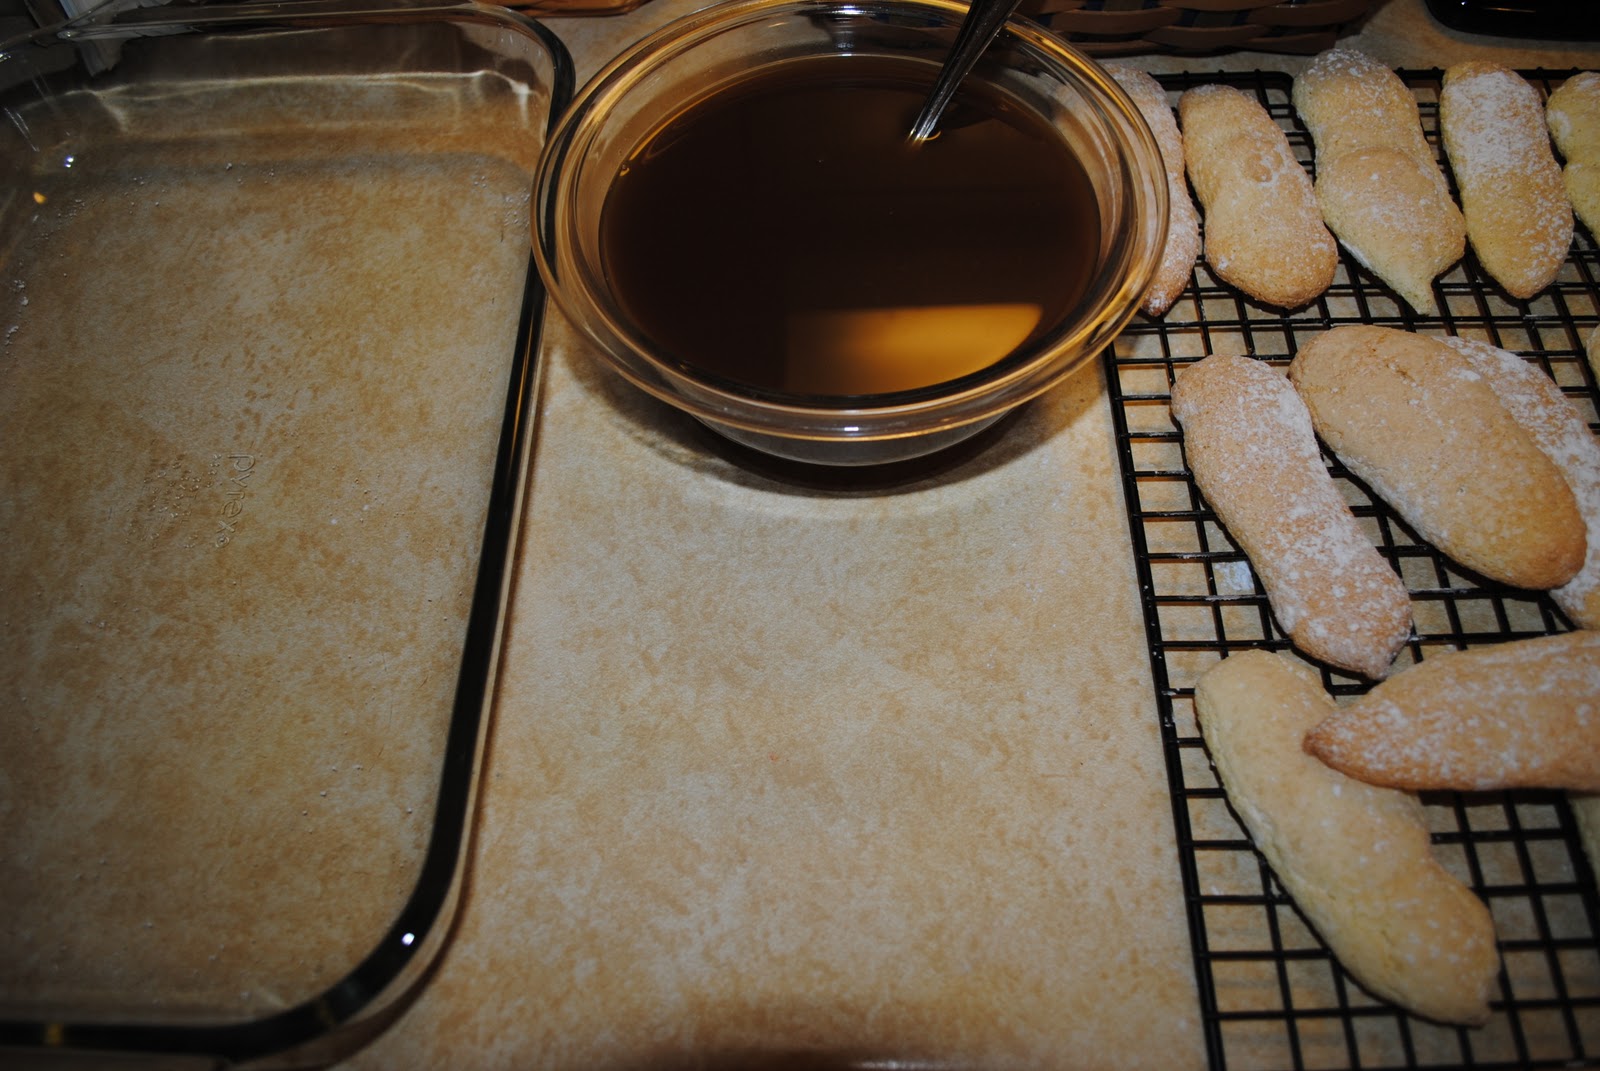
Spoon the batter into a pastry bag fitted with a large round tip. Pipe the bater onto the prepared baking sheets, making each ladyfinger about 4 inches long and 2 inches wide. You'll be able to fit about 5 ladyfingers across and 4 down on each sheet. Sift the 1/2 cup powdered sugar over the ladyfingers and bake about 10 minutes, until lightly browned. Cool for 5 minutes and use a spatula to transfer them to cooling racks.

To make the soaking syrup: Simmer the water and sugar in a heavy saucepan set over medium heat about 10 minutes, until slightly thickened. Remove the mixture from the heat  and stir in the espresso powder, liqueur, rum, and vanilla. Set aside to cool.

To make the filling: Using a mixer fitted with the paddle attachment, combine the cream cheese and sugar on high speed. Ad the mascarpone and beat on medium speed just until incorporated. Combine the boiling water and espresso powder in a small bowl. Stir 1/4 cup of the cooled soaking syrup and 1 Tablespoon of the espresso liquid in the filling. Spoon half of the cream cheese mixture in a medium bowl. Stir the remaining 1 Tablespoon of espresso liquid into the second bowl of cream cheese mixture. You will have 1 bowl of light brown cream cheese filling and one bowl of dark brown cream cheese filling.

Coat a 9 by 13-inch baking pan with cooking spray. Dip both sides of 1 ladyfinger in the cooled soaking syrup and place in the bottom of the pan. Repeat with more ladyfingers and syrup to line the whole pan. Spoon the light-colored cream cheese mixture evenly over the ladyfingers and smooth gently with a spatula. Cover with a second layer of dipped ladyfingers. Spoon on the dark-colored cream cheese mixture and smooth the top as before. (Leftover ladyfingers can be wrapped and frozen up to 1 month--if they last that long, I just ate my leftovers.) Use a fine-mesh sieve to dust the top with a light coating of cocoa powder or sprinkle with grated bittersweet chocolate.

Cover the tiramisu and refrigerate for at least 2 hours or overnight. Serve cold from the fridge.

12.02.2010

It's a Double Whammy.

Cheesecake.

Cookie Dough.
 Cookie Dough Cheesecake.
This was the other dessert I made for Thanksgiving. It was a huge hit with my family. And I have to admit, on Friday and Saturday it is what I ate for breakfast.
The cheesecake isn't baked in a water bath, which I thought was very odd. I have only made one other cheesecake before (a nutella cheesecake!), and it had a water bath. I was a little apprehensive about making it cause I thought the water bath served a vital purpose in the overall baking of the cheesecake. Turns out, it just prevents cracks on the top, and I wasn't so worried about that.

This dessert is definitely a double whammy. The cheesecake is smooth and creamy and the cookie dough balls are, well...cookie dough. You can't go wrong with that. After you make the cookie dough and shape it into balls, make sure to put them in the freezer. If not, they will just bake along with the cheesecake and turn into cookies. Pretty cool, but not as snazzy and just the dough. When the cake is in the oven, the frozen dough balls will just thaw and still be yummy raw goodness.

I'm not sure if my springform pan was a bit loose or what, but when I baked it, it dripped grease onto the bottom of my oven. So about halfway through baking when I realized it was dripping, I just slid a cookie sheet on the bottom rack to catch the grease. Luckily, I have one of those nonstick pads on the bottom of the oven, so cleanup was a breeze, it was a just a little chaotic. In the end, though, it was so worth it. 
Chocolate Chip Cookie Dough Cheesecake-recipe by Mel's Kitchen Cafe

Crust:
4 Tablespoons butter, melted
2 1/2 cups Oreo cookie crumbs


Cookie Dough:
1/2 cup butter, softened
1/2 cup sugar
1/2 cup light brown sugar
2 Tablespoons milk
2 teaspoons vanilla
1 cup AP flour
1/4 teaspoon salt
1 cup mini chocolate chips


Filling:
4 (8oz) blocks cream cheese, softened
1 cup sugar
4 large eggs
1 teaspoon AP flour
1 teaspoon vanilla
1 cup sour cream
1 cup mini chocolate chips

For the cookie dough: In a medium bowl, combine the butter and both sugars. Add the milk and vanilla and blend. Mix in the flour, salt, and chips. The dough will be fairly soft. Gently roll the dough into small balls and place on a parchment lined baking sheet. Place them in the freezer to harden while making the rest of the cheesecake.

For the crust: Preheat the oven to 325 degrees F. Lightly grease the bottom and sides of a 10 inch springform pan. In a medium bowl, combine butter and cookie crumbs. Press onto bottom and about halfway up the sides of the pan. Bake for 10 minutes.

For the cheesecake: Using an electric mixer on high speed, beat the cream cheese, sugar, eggs, and flour until smooth. Add the vanilla and sour cream and mix just until blended. Be careful no to overmix, you want your cheesecake to be light and fluffy.

Pour half the batter into the cooled crust. Gently stir in the cookie dough balls and additional chocolate chips into the remaining batter. Pour that into the pan, spreading the batter to the sides of the pan and evening out the top. Bake the cheesecake for one hour. Turn off the oven and prop the door open several inches and let sit in oven for an additional 30 minutes. Remove the cake and let cool completely on a wire rack. Refrigerate overnight.